
I adapted this recipe for Fermented Pasta Dough from the Pantry Mama recipe. She’s a good egg, but…
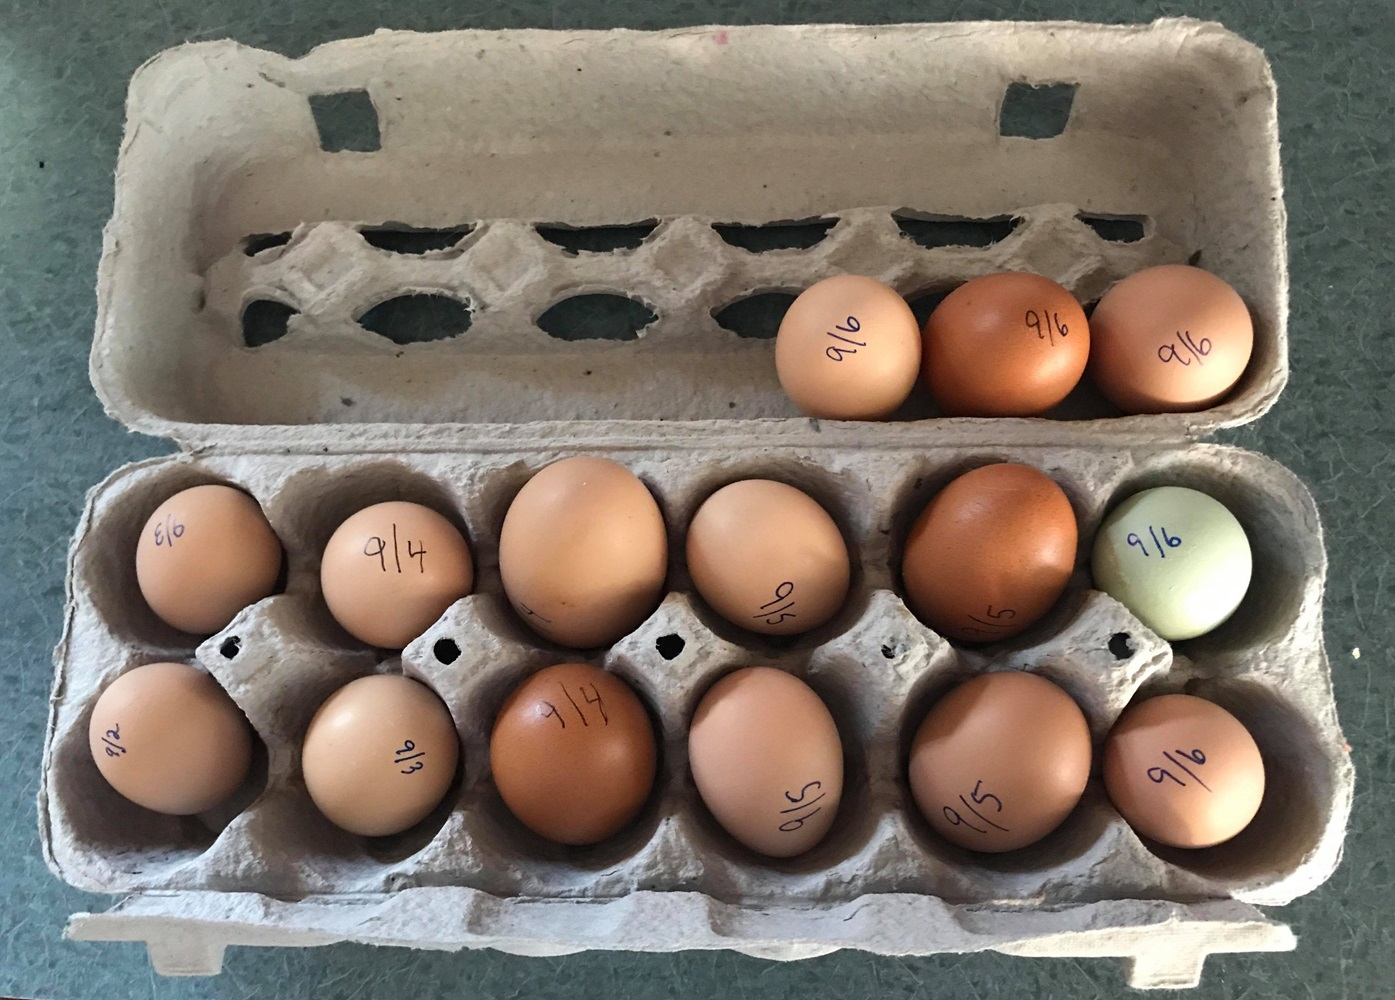
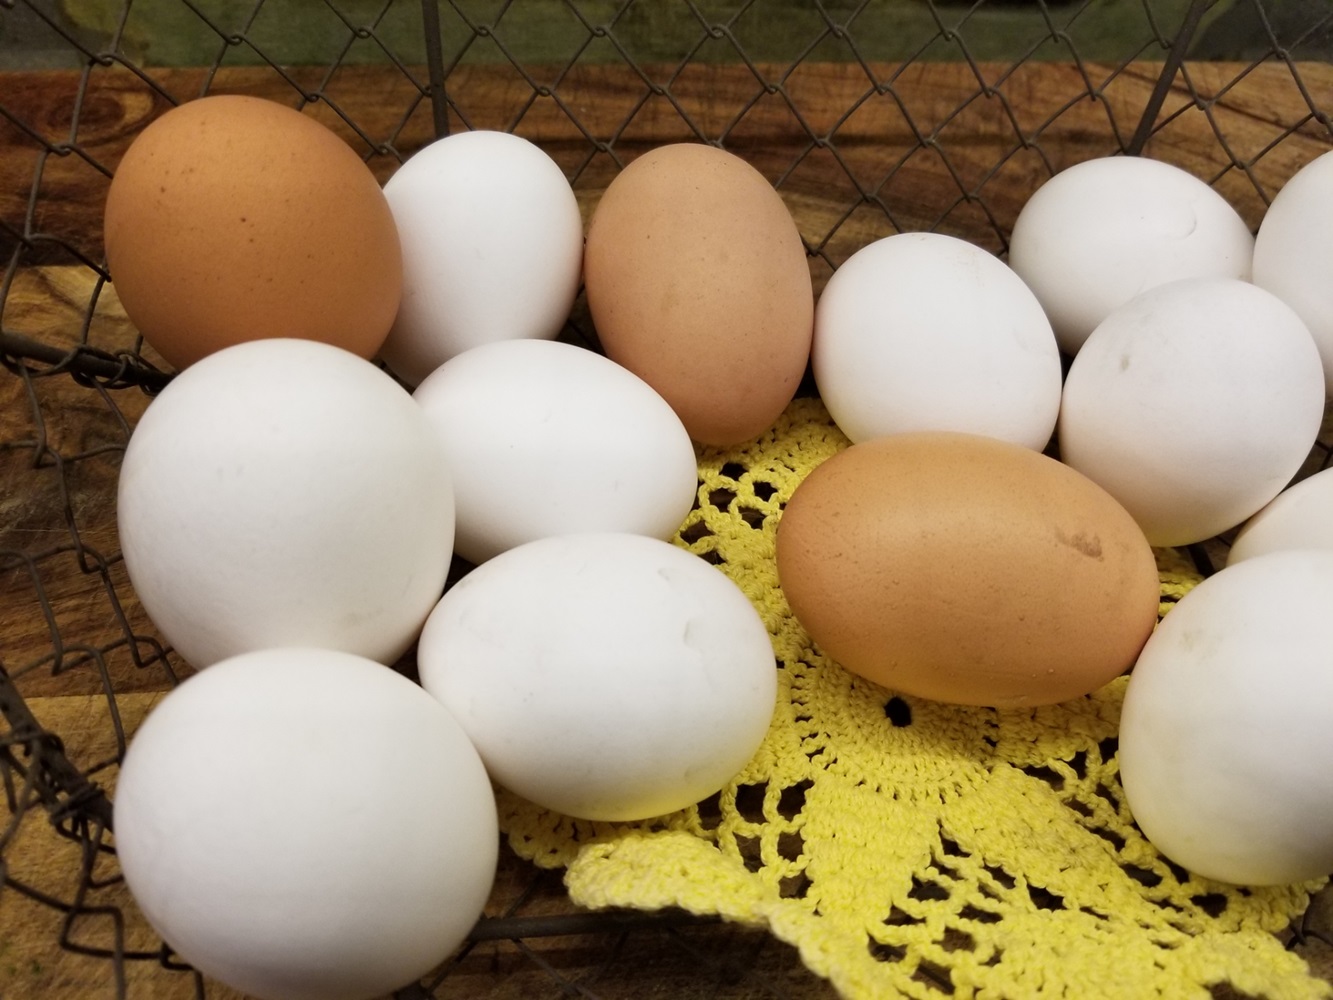
We buy our eggs from a local farmer, so the size of the eggs are widely variable. The Pantry Mama recipe specifies 2 eggs. That doesn’t work for me because ‘two eggs’ is not ‘two eggs’ is not ‘two eggs,’ at least not in my kitchen.
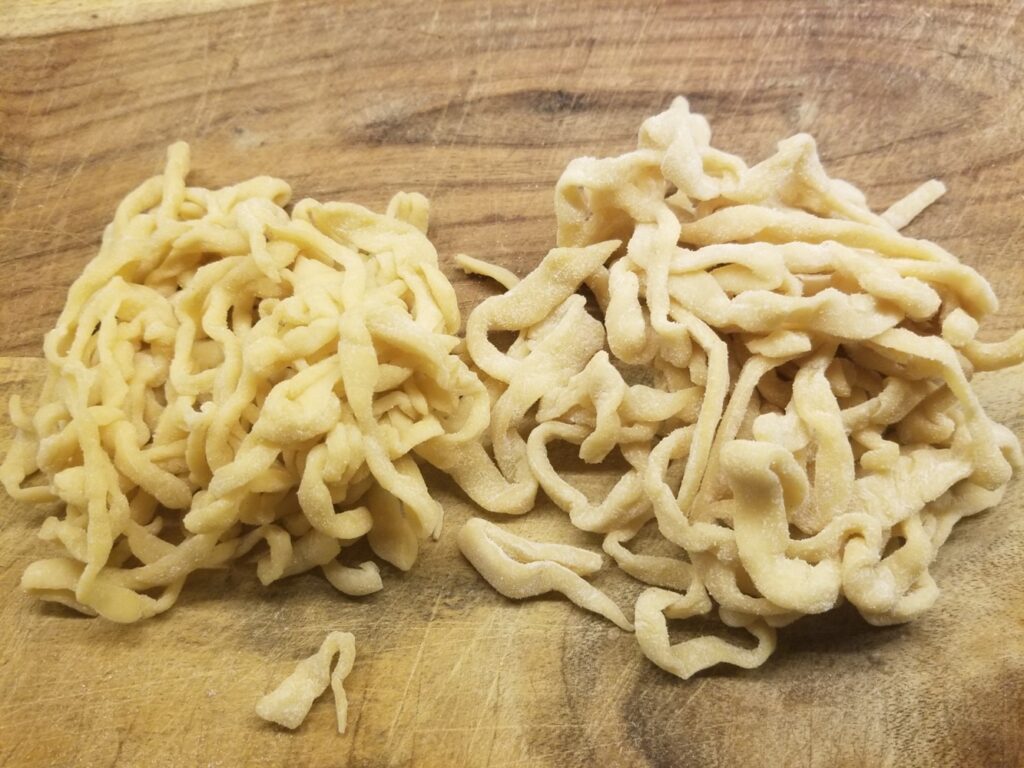
I recently made two different batches of Fermented Pasta Dough for a dinner party, and I was concerned that the two batches, side by side, were so different. Different in color and different in texture. There is no water in this recipe, so the only hydration is from the eggs. I know from mixing up sourdough bread dough that even a few grams of water, more or less, can make a huge difference in how hydrated the dough becomes. Hydration affects not only the taste and texture, but how easy or difficult the dough is to work with.
I was bemoaning this situation when my friend Bob suggested the obvious “why don’t you measure the eggs by weight instead of quantity?” Duh, why didn’t I think of that? So the point of this post is to standardize “my” Fermented Pasta Dough recipe. The following egg weights, in grams, are estimates, but much better for my purposes:
- Small – at least 42 grams
- Medium – at least 49 grams
- Large – at least 56 grams
- Extra Large – at least 63 grams
- Jumbo – 70 grams or more
Simply crack two eggs and weigh them together. You’re looking for approximately 105 grams, the sweet spot between two medium eggs and two large eggs. If you have two much, beat the eggs together and scoop out the quantity needed to approximate what you’re looking for. It’s not exact, but it yields more predictable results than otherwise.
Fermented Pasta Dough
Equipment
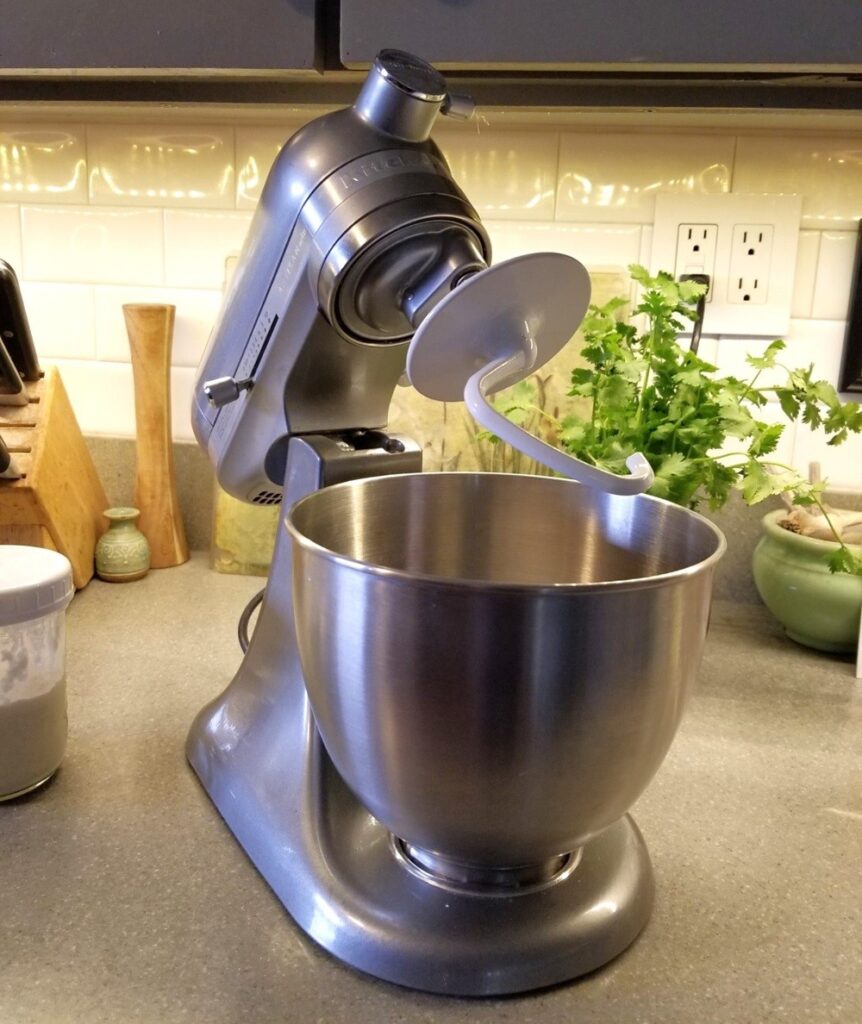
- KitchenAid mixer
- dough hook
- KitchenAid pasta roller attachment
Ingredients
- 100 g sourdough starter (discard or active starter)
- 250 g bread flour
- 2 eggs (approximately 105 grams)
Instructions
MAKING THE DOUGH THE DAY BEFORE
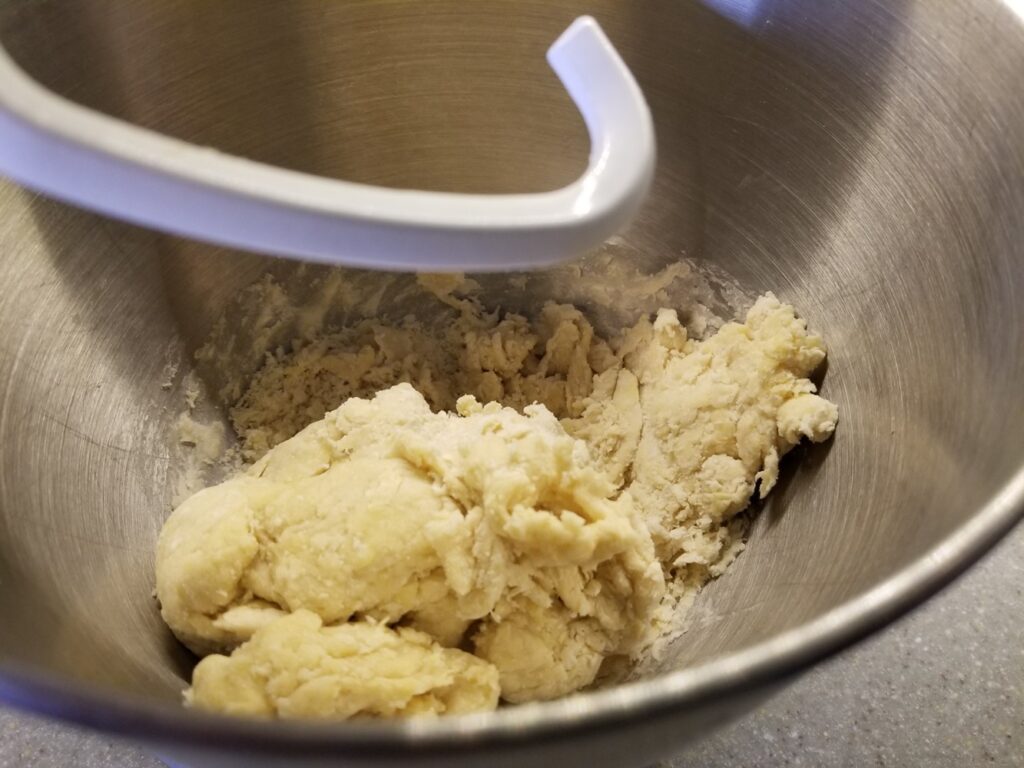
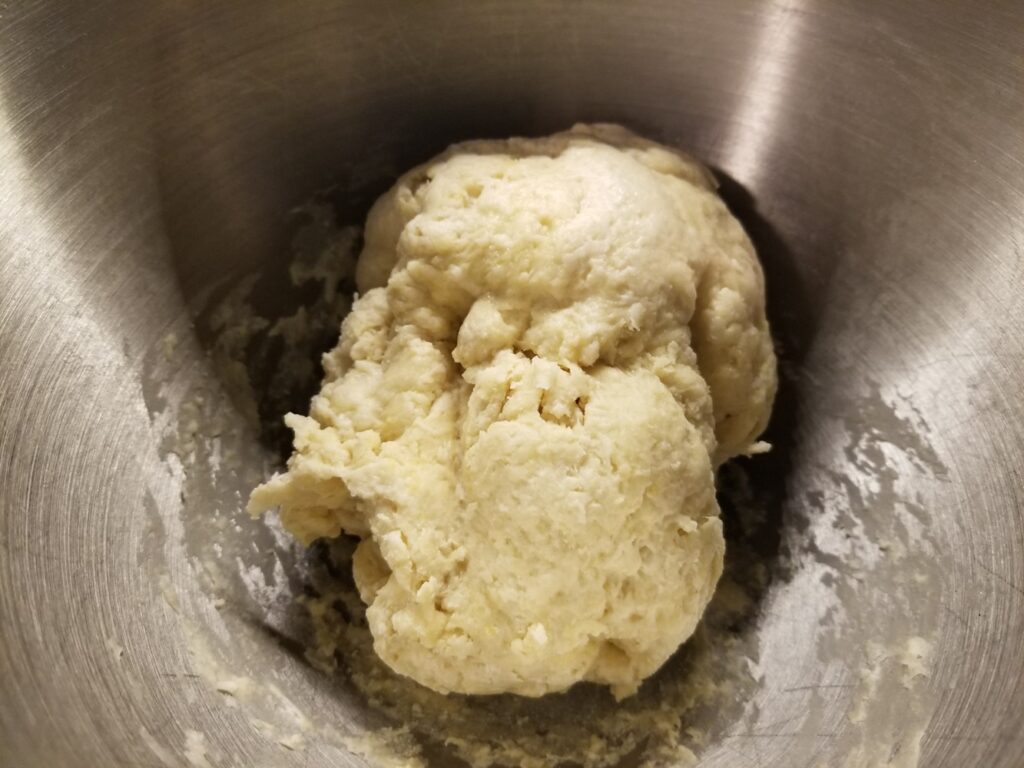
- Mix the dough – Add the flour, eggs, and sourdough starter to the bowl. Use the dough hook and mix the dough on low speed (no more than 2) until the dough becomes smooth and pulls away from the sides of the bowl. This can take some time; just let the mixer do the work.
- Knead – Turn the dough out onto the counter and gently knead it, then roll it into a ball.
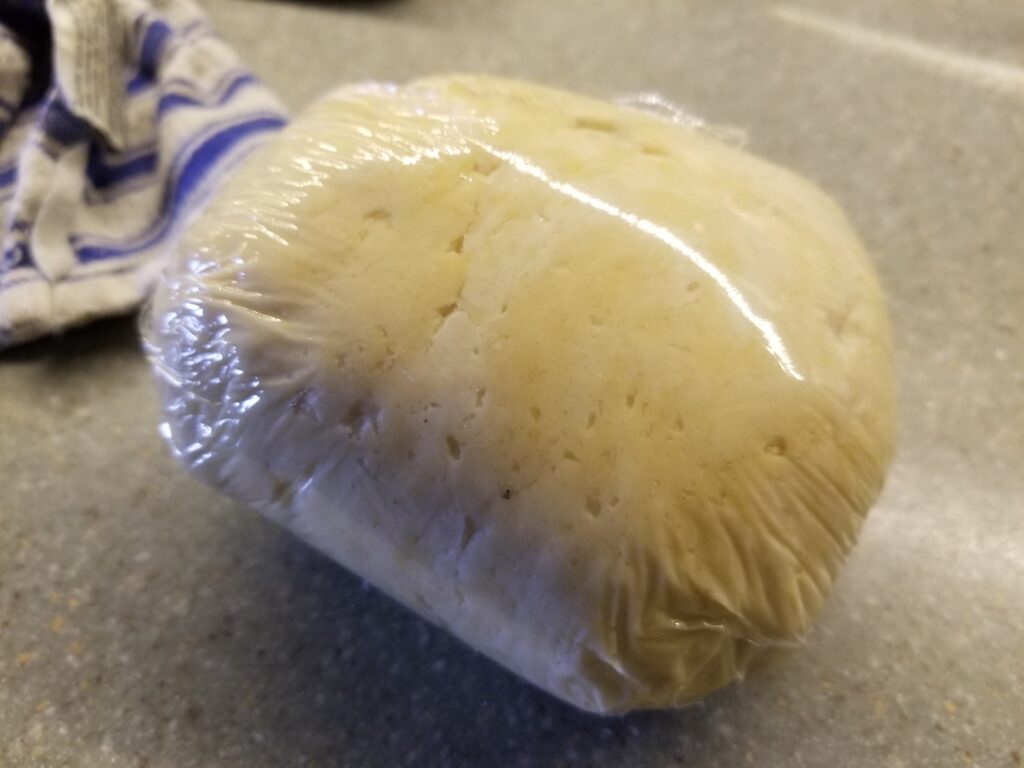
- Ferment – Tightly wrap the ball of pasta dough in plastic wrap and stash it in your refrigerator overnight.
ROLLING AND CUTTING THE PASTA THE DAY OF
- Roll the pasta to the desired thickness – Take the dough out of the refrigerator and let it come to room temperature. Divide the dough into four pieces, and roll out one piece at a time, rewrapping the other pieces until you're ready to work with each one. Roll out the pasta to your desired thickness using your KitchenAid pasta roller attachment.
- Cut the pasta and let it rest – Cut the dough to your desired shape/length and let it rest for at least 30 minutes to dry.
Unlike sourdough bread doughs, where there are myriad recipes for so many varieties – baguette, brioche, pizza, focaccia, etc., this Fermented Pasta Dough recipe can be used for any home-made pasta shape. Simply make the dough and roll it out using your KitchenAid pasta roller attachment. The variation comes with the thickness of the pasta and the shape that you choose. You’ll become an expert in no time.
In case you aren’t aware, I’m focused on “fermented” dough because Ron has learned through experience that even though he’s gluten-intolerant, he can digest sourdough bread and any other types of bread and pasta that have been fermented first. We’ve been relying on commercially available gluten-free pastas until now but, although good, they’re not great. They don’t have that chew and they get hard after they cool, so left-overs aren’t appealing. This Fermented Pasta Dough is quite different. Not only is it wonderfully alive when you cook it, it gets even better then next day. Another plus is that the dough freezes well, so if you have a few free minutes, you can mix up a batch and throw it in your freezer for one of those nights when a pasta dish is just what you’re in the mood for. So it’s a bit more work that commercially available gluten-free pastas, but not much more.
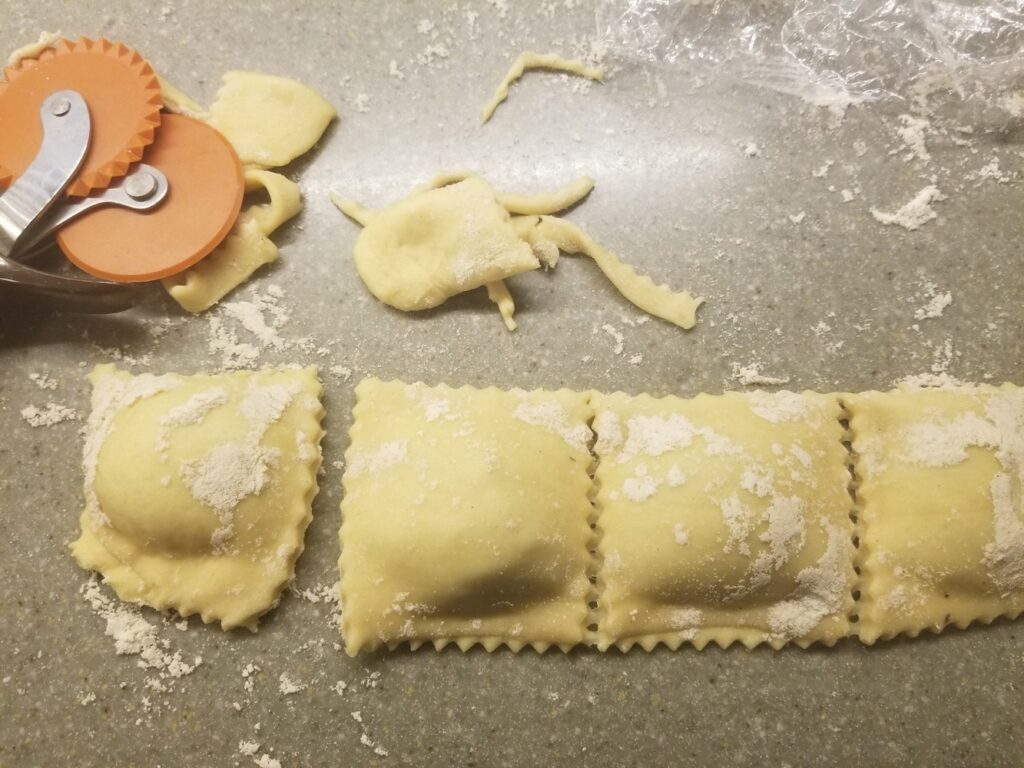
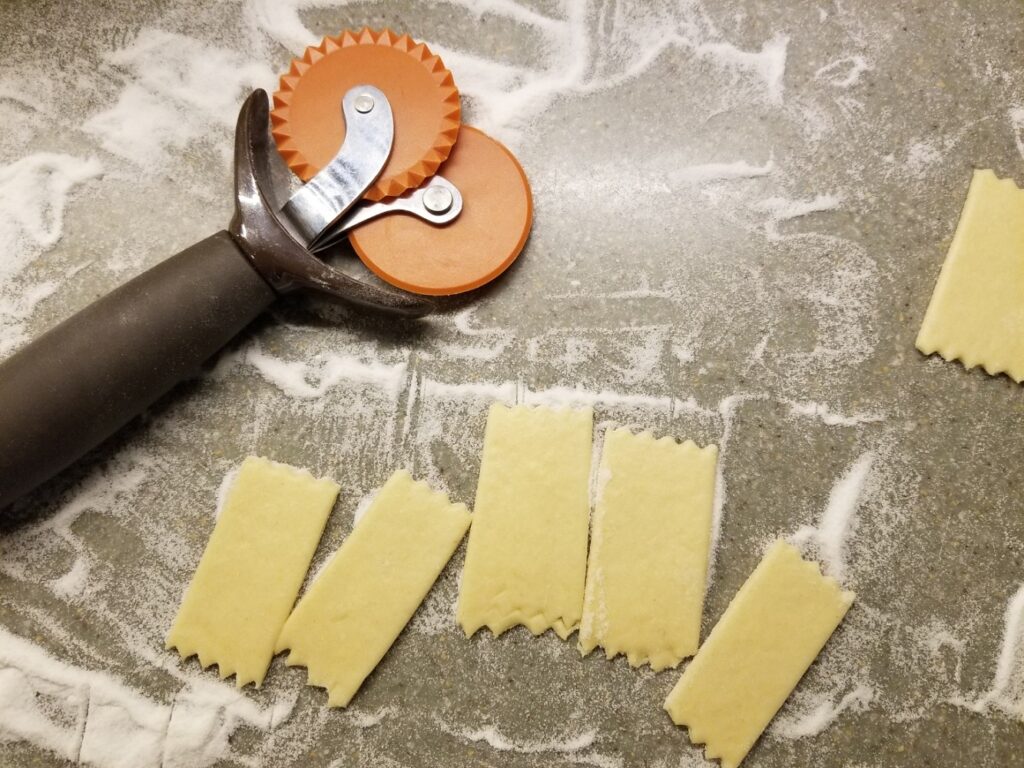
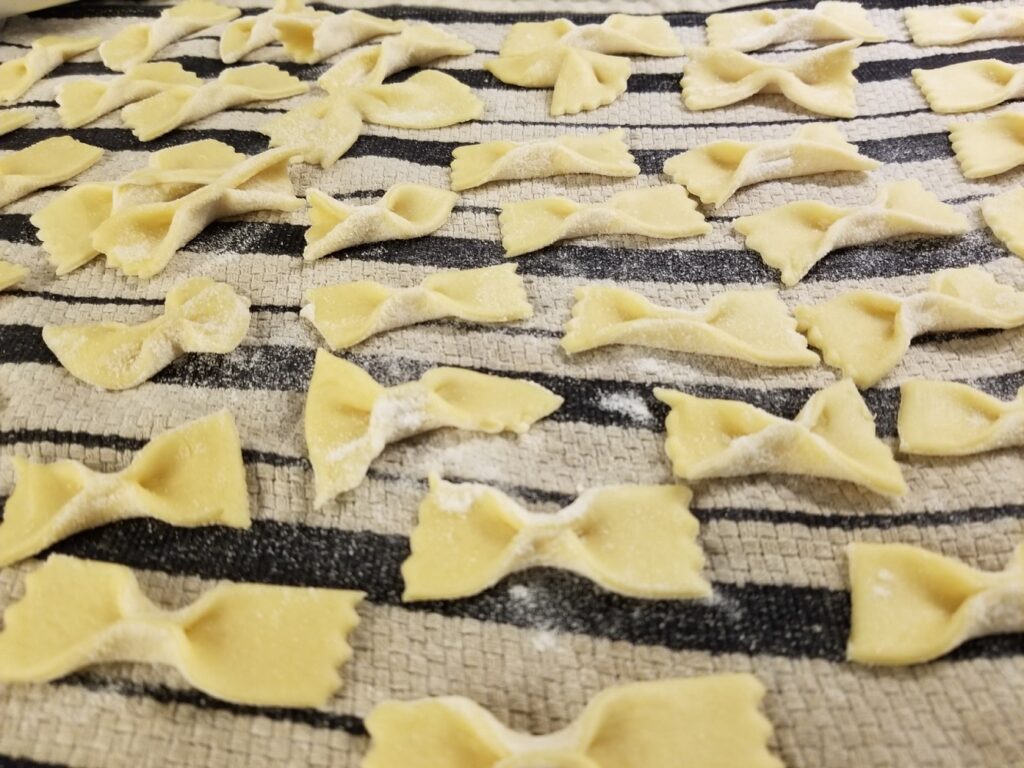
COOKING NOTE: The Pantry Mama recommends that you use plenty of flour on the surface of the dough when rolling, to stop the dough from sticking to either itself or the counter. This is great advice. However, I’m fermenting the dough to disarm the gluten, so I don’t want to add unfermented flour into the mix. I dust the counter or a Silpat-lined, rimmed baking sheet with King Arthur Gluten-Free Measure for Measure flour, which is mostly rice flour and tapioca starch. It does an excellent job of preventing the pasta from sticking to itself. I lay the pasta sheets out on the floured surface and cut the pasta into the size I’m looking for. If you’re cutting and then forming the pasta shape, farfalle, for example, pinch the pasta so that the top of the sheet, which hasn’t been dusted with the gluten-free flour, is crimped onto itself. Otherwise it won’t stick together. Likewise, when making ravioli, be careful to avoid dusting the side of the sheets that you want to crimp together. It’s easier making linguine or pappardelle – simply cut it with a pasta cutter, then toss the strands gently in the flour – they’ll stay loose and separate.
